How to use LinkedIn Sales Navigator for prospecting: 7 steps
Use a seven-step Sales Navigator workflow, audit 20 leads, fix poor search results, and separate saved searches from lead alerts and outreach routes.
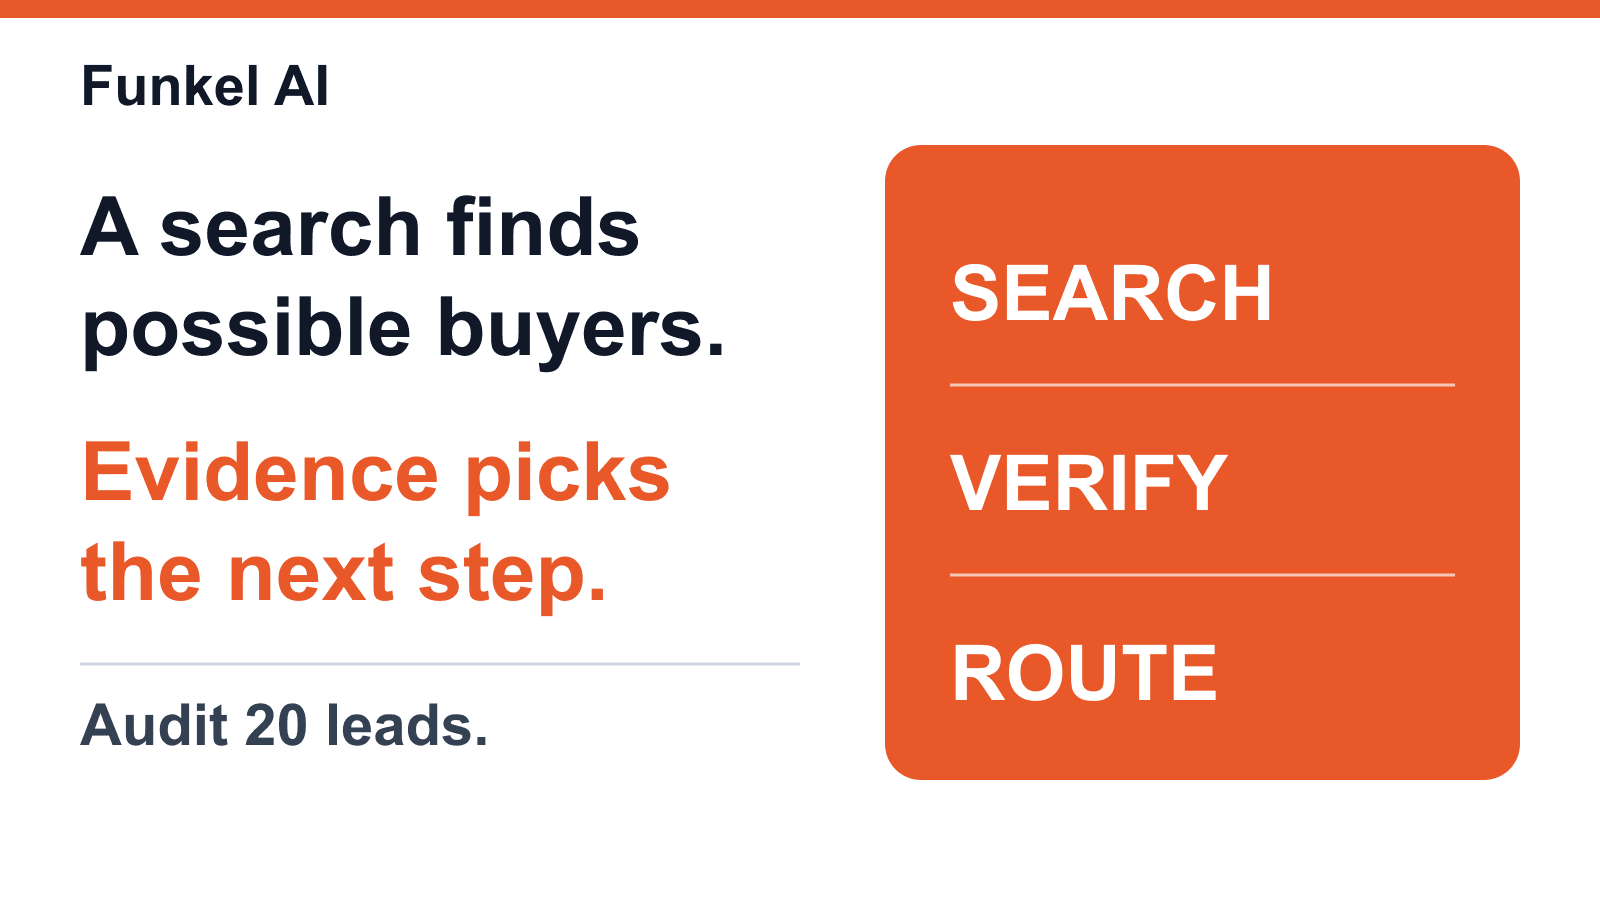
To use LinkedIn Sales Navigator for prospecting, define one target account lane, create a Persona, save the right accounts, run a focused lead search, audit the first 20 results, classify each result as skip, watch, connect, or message, and review alerts before writing outreach. Sales Navigator finds possible buyers. Your workflow decides who is ready for action.
That distinction matters because a clean result set is not a prospecting strategy. A filter can tell you that someone has the right title at the right kind of company. It cannot tell you what changed, whether the evidence is fresh, or what the first message should prove.
The short version: search, verify, watch, then act
A useful Sales Navigator workflow has five decisions:
- Search: who matches the account and role lane?
- Fit: who actually owns or influences the problem?
- Timing: what changed recently enough to matter?
- Evidence: can another person verify the reason?
- Action: watch, research, connect, message, or skip?
LinkedIn’s current Sales Navigator 101 guide covers the product mechanics: Personas, account and lead search, saved lists, alerts, Lead Pages, and Account Pages. The process below turns those mechanics into a reviewable prospecting system.
Step 1: define one prospecting lane
Start with one narrow problem, buyer, and account shape. Sales Navigator becomes hard to evaluate when one search mixes several verticals, company stages, and buying roles. You cannot tell whether an alert is useful if the search itself has no single purpose.
Write the lane in one sentence before touching a filter:
We want [role or buying group] at [account type] because they own [painful workflow], especially when [observable change] happens.
Example: “We want founders and sales leaders at 20–200-person B2B SaaS companies because they own early outbound quality, especially when they start hiring SDRs.” That sentence gives you an account lane, likely titles, and a timing signal.
If you need to define the broader workflow first, use our LinkedIn prospecting checklist generator or read the complete LinkedIn sales prospecting guide.
Step 2: create a Persona and save target accounts
LinkedIn recommends setting up a Persona so the target role and account criteria can be reused. It also recommends saving target accounts before looking for leads so the product can surface relevant people and account alerts.
Build the account layer from the parts of the lane that are truly non-negotiable:
- industry or category
- company headcount or operating stage
- region
- named account list when the market is already known
- growth, hiring, or technology context when it changes fit
Start with accounts because titles do not carry company context. A VP Sales at a 60-person SaaS company and a VP Sales at a global enterprise may share a title while owning completely different workflows.
Step 3: run a lead search with one to three filters
LinkedIn’s current getting-started help suggests beginning with one to three lead filters, such as current company, job title, and location. That is a useful discipline: add complexity only when the results show you exactly what needs to be excluded.
| Filter layer | Start with | Add only when |
|---|---|---|
| Account | Current company or account list | The target market is already defined |
| Role | Job title or Persona | Different title variants own the same problem |
| Scope | Location | Territory, language, or service coverage matters |
| Precision | Seniority, function, or company headcount | The first results expose a repeatable bad-fit pattern |
If title language varies, test a small set of known variants and inspect the result quality. Do not add every plausible synonym at once. A search you can explain is easier to debug than a large Boolean expression nobody owns.
Step 4: audit the first 20 leads
Review 20 results before saving a large list or connecting the search to another tool. Include obvious matches, middle-of-list profiles, and edge cases. The first page should teach you what the filter means in practice.
For each lead, record:
- whether the account fits the lane
- whether the person owns, influences, or only observes the problem
- which filter admitted the lead
- whether a current reason exists
- what exclusion or filter change would improve the search
Common failure patterns include recruiters inside buyer searches, consultants who serve the target industry instead of buying, titles with the right word but the wrong responsibility, and accounts that fit the category but not the current use case. Every repeated error should become a filter adjustment, exclusion, or account-list rule.
The free lead qualification scorecard can help a team use the same fit criteria during this audit.
Copy this 20-lead Sales Navigator search QA record
Count what the first 20 results prove before you change the search. Use a varied sample with clear matches, middle results, and edge cases. The record shows which part of the search needs work. It does not create a universal pass rate.
| Field | Record for each lead | Review after 20 |
|---|---|---|
| Account fit | Yes or no, with one reason | Count fitted accounts and name the repeated bad account type |
| Buying-role fit | Owner, influencer, observer, or unknown | Count owners and influencers, then note ambiguous titles |
| Current reason | Source, observed fact, date, and expiry | Count reasons that remain supported and fresh |
| Route | Skip, watch, connect, or message | Count each route and keep one route per person |
| Correction | Filter, exclusion, or account-list change | Choose one repeated source of noise for the next search version |
search_name:
prospecting_lane:
filter_version:
sample_date:
filters_used:
account_fit_count:
buying_role_count:
current_reason_count:
route_confirmed_count:
missing_evidence_count:
repeated_noise:
one_change_next:
reviewer:
Change one filter, exclusion, or account-list rule. Then review the next 20 results with the same record. A search improves when the reason for each result becomes easier to explain and the repeated noise falls. Do not hide a weak search behind a larger list.
Fix a Sales Navigator search that returns the wrong leads
A poor result set is a search diagnosis, not a reason to contact more people. Keep the account and buyer lane visible while you change one rule. Then use the same 20-lead audit to see whether the correction improved the results.
| What you see | Check first | One useful correction |
|---|---|---|
| No results | Did an optional filter make the search too narrow? | Remove the last optional filter. Keep the account and territory rules you truly need. |
| Many people with the right word but the wrong job | Which title or function appears in the bad matches? | Test a narrower title or function filter against another 20 results. |
| Right roles at wrong companies | Does the account list contain companies outside the lane? | Correct the saved account list before changing the lead filter. |
| Good fit but no current reason | Is there a recent post, job change, or account event you can verify? | Save the lead for review. Do not use a search match as the message reason. |
For example, suppose a search for sales leaders at saved B2B software accounts returns no people after you add both seniority and function. Keep the account list. Remove the last optional filter and inspect the next results. If many recruiters now appear, correct the role rule. If the right people appear without a current reason, save and watch them. These are hypothetical outcomes, not measured campaign results.
The four-route decision gate for every result
A Sales Navigator result should enter one clear route. This keeps a search result from becoming a send instruction. The route can change when new evidence appears, but the person should not sit in several action queues at once.
| Route | Use it when | Next action | What can change the route |
|---|---|---|---|
| Skip | The account or buying role does not fit | Remove the result and correct the search | Verified role or account information |
| Watch | The fit is strong, but no current reason exists | Save the lead and review relevant alerts | A fresh job, hiring, post, or account change |
| Connect | The fit and context support a light relationship step | Send a concise, relevant connection request | A reply, acceptance, or stronger signal |
| Message | Fit, timing, evidence, and the outreach route are clear | Draft one focused question for review | A reply, opt-out, warning, or expired reason |
This gate is the information-gain layer missing from most search tutorials. Search mechanics create a candidate set. The route records the judgment that turns one candidate into one next action.
Worked example: one search produces four different next steps
Consider a hypothetical search for founders and sales leaders at 20–200-person B2B software companies that are hiring SDRs. Start with a relevant account list, a founder or sales-leader title, and the region you can serve. These are example records, not measured campaign results.
| Search result | What you can verify | Route | Reason |
|---|---|---|---|
| Recruiter at a target account | Company fits; role does not own outbound quality | Skip | Correct the title or function filter |
| Founder at a target account | Role fits; no current change is visible | Watch | Save the lead and review later alerts |
| Sales leader who shared a relevant public post | Role and post fit; no direct question or warm path exists | Connect | Use a light note tied to the actual post |
| Sales leader asking a public question about SDR handoffs | The question, date, role, and supported contact route are clear | Message | Answer the question and ask one relevant follow-up |
The hiring criterion starts the search. It does not prove that any person wants an outbound tool. Inspect each source, record its date, and keep your business hypothesis separate from the observed fact. If a post is stale or the person cannot be identified, move the result to watch or skip instead of writing a message.
Step 5: separate fit from timing
A fitted lead is not automatically ready for outreach. Use two questions: does this person belong in the market, and is there a current reason to act?
| Fit | Current reason | Best next action |
|---|---|---|
| Strong | Fresh and specific | Message after review |
| Strong | None yet | Watch |
| Unclear | Interesting activity | Watch while you verify the buying role |
| Weak | Any | Skip or fix the search |
Job changes, recent posts, hiring, account news, shared experiences, and warm paths can all add context. They do not all carry the same weight. Our LinkedIn intent signals field guide explains which signals suggest attention, pressure, or noise.
Step 6: save the lead and preserve the reason
LinkedIn’s current guide to finding and saving leads says saved leads can surface alerts such as job changes and new posts. Saving a lead also saves the associated account and helps organize future review. That makes saving useful, but only if your team preserves why the lead matters.
Store four fields in the system your team actually reviews:
- Fit: why this person belongs.
- Change: what happened.
- Freshness: when the reason expires.
- Route: skip, watch, connect, or message.
Save the search as well when new matching people would be useful. A saved search finds future candidates. A saved lead tracks a known person. They solve different problems.
Saved search versus saved lead: what should you review?
LinkedIn’s Sales Navigator guide says a saved advanced search can notify you when new people match. Its lead-saving guide explains that a saved lead can surface updates about that person. Put both in the review calendar, but ask a different question for each one.
| Item | What changes | Review question | Next step |
|---|---|---|---|
| Saved search | A new person matches the filters | Does this person really fit the account and role lane? | Audit the result before saving or contacting them |
| Saved lead | A known person changes jobs or posts | Does this update create a current, verifiable reason? | Keep watching or choose a proportional action |
New search matches are not new buying signals. Lead alerts are not automatic send instructions. Keep the search version, source link, observed date, and route beside each reviewed person.
Step 7: review alerts and write from the evidence
Put a short alert review on the calendar. For each new update, ask whether it changes priority or the message. A job change may create a new operating mandate. A recent post may reveal a problem in the buyer’s own words. An alert that changes nothing should not create a send.
Before writing a connection request, InMail, or email, force one sentence:
We are contacting this person because [evidence] suggests [business pressure], and the useful first question is [question].
If that sentence is hard to write, the lead may fit the search but the outreach is not ready.
Example: weak Sales Navigator outreach vs reason-led outreach
Weak:
“Saw you lead sales at a growing SaaS company. We help teams automate outbound. Worth a quick chat?”
Better:
“Noticed you recently moved into VP Sales while the team is hiring SDRs. That usually creates pressure around lead quality before volume ramps. Are you keeping LinkedIn prospect review manual right now, or does each rep decide who is worth messaging?”
The second version is not longer because it is trying harder. It is stronger because it connects the search result to a reason. The buyer can see why they were chosen.
A weekly Sales Navigator routine for a small team
Keep the operating rhythm small enough to maintain:
- Monday: review new saved-search matches and audit fit.
- Wednesday: review lead and account alerts for fresh reasons.
- Friday: inspect accepts, replies, skips, and stale signals.
- Every week: remove one source of noise before adding volume.
Connection notes need the same discipline. LinkedIn currently limits personalized invitation notes to 200 characters, so the signal and reason must survive compression. Use the examples and checklist in our LinkedIn connection request message guide.
When to automate Sales Navigator prospecting
Automate after the manual workflow is clear. If the team cannot explain which filters produce relevant people, which signals matter, and which message routes work, automation will only scale confusion.
A safe automation order is:
- standardize the account lane and lead search.
- audit the first 20 results manually.
- define which signals create watch, research, or outreach routes.
- draft messages from evidence, not generic personas.
- pause when a reply, warning, opt-out, or stale signal appears.
That is also how outbound sales automation should work. It should preserve the reason, not just accelerate the send.
How Funkel AI fits this workflow
Funkel AI is built around the same sequence: buyer profile, signal, evidence, route, draft, approval, and follow-up memory. Paste the URL of what you sell, review the generated ICP, choose signal sources, and review leads with the reason attached.
Sales Navigator can still be part of the system. The point is to stop treating its output as campaign-ready. Funkel AI is the layer that helps turn buyer fit and public signals into a route your team can approve. Compare the jobs in our guide to LinkedIn prospecting tools or review Funkel AI pricing.
LinkedIn Sales Navigator prospecting FAQ
What is the difference between a saved search and a saved lead in Sales Navigator?
A saved search finds new people who match its filters. A saved lead tracks one known person and can surface updates such as a job change or post. Review new matches for fit. Review lead alerts for a current reason before outreach.
How do you use LinkedIn Sales Navigator for prospecting?
Define one target account lane, create a Persona, save the right accounts, run a focused lead search, audit the first 20 results, classify each result as skip, watch, connect, or message, and review alerts before writing outreach. Sales Navigator finds possible buyers; your workflow decides who is ready for action.
Which Sales Navigator filters should you start with?
Start with one to three filters that encode the non-negotiable parts of your ICP, such as current company or account list, job title, and location. Add seniority, function, company headcount, industry, or exclusions only after reviewing the first results and identifying a specific source of noise.
What should you do after saving a lead in Sales Navigator?
Record why the lead matters, what changed, how fresh the evidence is, and the next action. Then review Sales Navigator alerts for job changes and posts. A saved lead without a reason and review date becomes another static list.
How many Sales Navigator leads should you review before scaling?
Review the first 20 leads manually before expanding the search or automating outreach. Twenty is enough to expose ambiguous titles, wrong accounts, weak buying roles, stale signals, and missing exclusions while the search is still easy to correct.
How do you measure Sales Navigator search quality?
Review 20 varied results and count account fit, buying-role fit, current reasons, confirmed routes, and missing evidence. Compare the counts after one filter change. This shows whether the search improves without relying on a universal quality threshold.
Why does a Sales Navigator search show irrelevant leads?
A broad title, mixed account list, or missing function filter can admit people who do not own the problem. Audit 20 results, identify the repeated error, change one filter or account rule, and review another sample. Do not treat a search match as a reason to send outreach.
How should you route Sales Navigator search results?
Use four routes. Skip weak-fit people. Watch strong-fit people who lack a current reason. Connect when a light relationship step fits the evidence. Message only when fit, timing, and a supported route are clear. Each result gets one next action instead of entering a send queue automatically.
Can Sales Navigator replace an outbound workflow?
No. Sales Navigator supports account and lead search, saved lists, alerts, and research. It does not replace ICP judgment, signal interpretation, message writing, pacing, stop rules, reply handling, or the system that preserves context across follow-up.
Read next
- How to use LinkedIn for sales prospecting: 7 stepsUse standard LinkedIn people search to test a buyer pool, then follow a 7-step prospecting workflow and audit 20 profiles before outreach.
- Best B2B intent data providers: 9 options compared for 2026Compare nine B2B intent data providers by signal grain and evidence. Use a 25-account scorecard to test a shortlist.
- Top SDR APIs for lead generation: 5 options by job (2026)Compare five SDR APIs for prospect discovery, verification, outreach, and CRM handoff. Use a six-record test before connecting tools.